
INSTALLATION

Shower base installation recommendations:
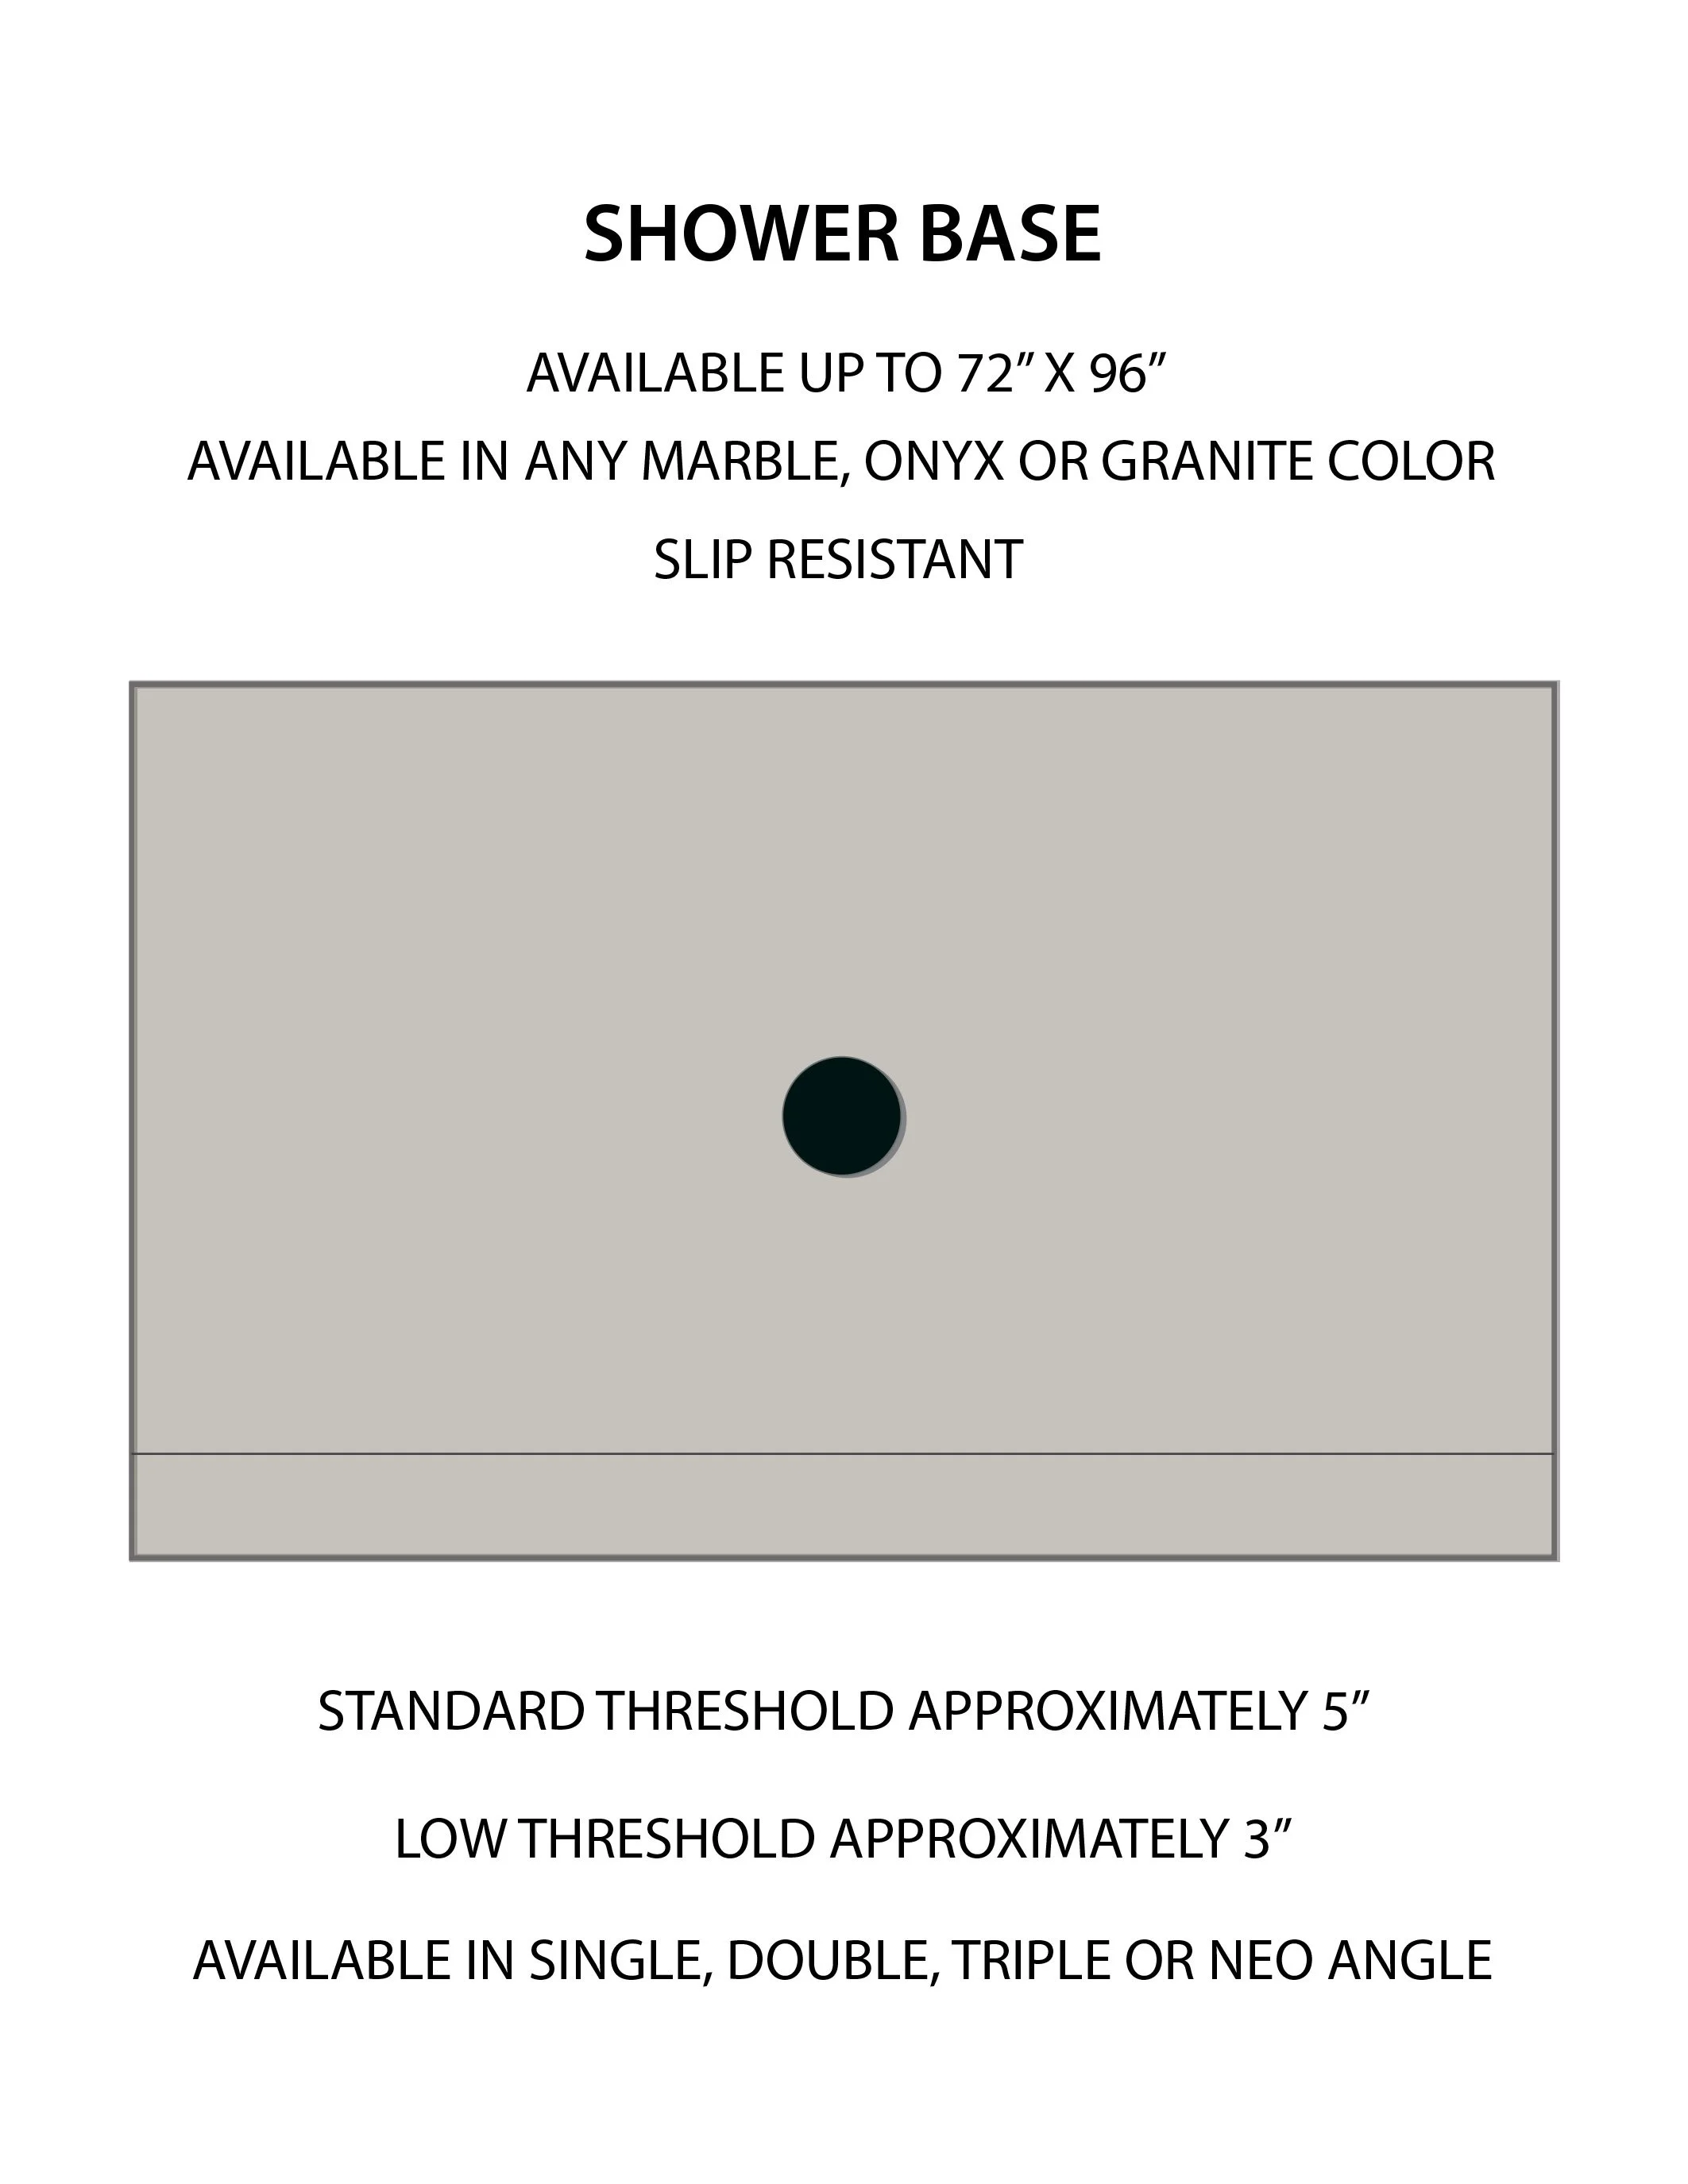
The shower base is meant to be installed with the water dam in contact with the studs or framing. Therefore, the install pre-drywall to accept the shower base.
Measure from the wall where the drain should be, cut a hole in the floor to accept the drain.
Lay the shower base in place and check level. If not level, remove base. Level floor using floor leveler or shims and mortar bed. When floor is level, reinstall base.
Wall panel installation recommendations:
Wall panels can be installed on existing tubs in remodeling jobs, or in new construction on any tub, marble, cast iron, enameled steel or fiberglass.
Suggested adhesives: 100% Silicone
Clean the surface of all dirt, paint, wax, grease or other wall finishes, preferably with denatured alcohol.
The walls can be installed over existing tile if the tile is sound. If there are places where the tile has failed, the panels can still be installed, providing those places are not more than one square foot and are separated by at least one foot. The title should be roughed with a grinder and cleaned thoroughly with strong solvent.
Before removing the protective film, examine the panels. Finished edges are slightly rounded. Unfinished edges are squared and will be placed against the wall. Determine where the finished edge goes, on the left for right. If adjustments to the panel are necessary, be sure to make those cuts on the unfinished edges, except for notching around threshold.
Draw a level vertical line approximately in the center of where the panels will be installed. Measure to each corner and determine if the corners are square. If necessary, cut the back panel so that it fits easily into place, though a tight fit is not necessary. The end walls will cover a small gap up to 1/4” in corners.
Determine location of studs for any recessed accessories.
Dry fit the back panel. If the panel fits without binding and is level at the top and fits tightly and evenly to the tub or shower pan, then it is ready to be glued. Clean the back of the panel and wall with denatured alcohol and cloth rag without dyes.
Apply adhesive in small amounts across the wall, approximately 6-8” apart. A 4 x 8 ft panel should use at least 2 tubes of silicone adhesive, 1 1/2 tubes for a 3 x 8 ft panel. Once the panel is aligned, push it agains the wall firmly into place.
The next panel to be installed is the faucet wall. Leave the plastic on the panel and mark the hole centerline. A 1 inch hole is needed at the top to accept 1/2” pipe. Check the manufacturer’s instructions for the hole size required for the mixing valve. Use a hole saw to make these holes. Before drilling, put a piece of 5/8” OSB across the saw horse, large enough to support panel.
Brace walls with 1 x 2’s for 24 hours.
After 24 hours, remove braces and silicone all seams using 100% silicone.
IF INSTALLING ONYX PANEL, MAKE SURE THE WALLS ARE LIGHT COLORED DUE TO THE TRANSLUCENCY OF THE ONYX.